How to Stay Productive & Organized at Home
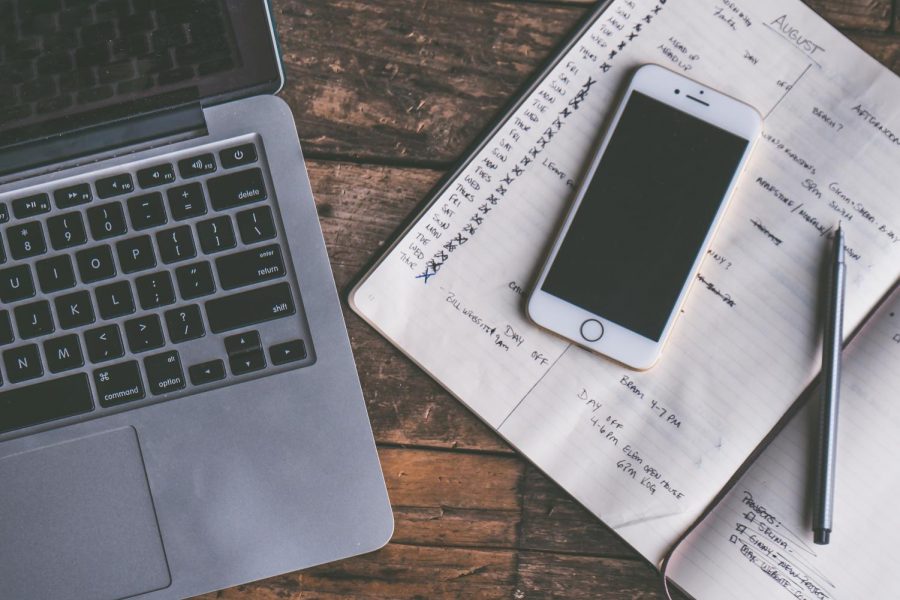
Source: pexels.com, Jessica Lewis
In the age of COVID-19, it has likely become more difficult to keep up with all the activities you may have going on. This comprises of things such as organizing your work, keeping up with deadlines, and making productive use of your time. In order to stay on top of your tasks and manage your time efficiently, you can create a planner to efficiently schedule and arrange your time and workload.
Step 1: Gather all the supplies needed to create your planner. Examples of this may include:
- a device with a search engine
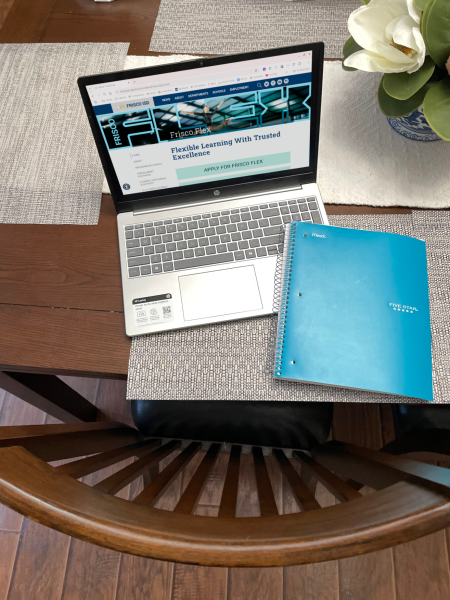
- a notebook (or any other place you can write your agenda)
- any writing utensils you desire (pencils, markers, crayons, etc.)
- a ruler or other straight surface to trace
- any other craft supplies you want to use
Note that not all of these supplies are required, as the items you need will depend on how you customize the planner, but having all of these would be useful.
Step 2: Pick a format or design you’d like to use. Go through Google images, art/design sites, or any other applications that can be used to search for different looks you can incorporate into your planner. Keep in mind that it should ideally not just be aesthetically pleasing to you, but also in a structure which best fits how you’d like to organize your information. You are also free to come up with your own design, or simply keep it undecorated if that’s what you prefer. Do not copy the set-up down in your notebook yet, though.
Step 3: Once you’ve got that decided, brainstorm the kinds of sections you need your planner to be divided into. Think about what different subjects or categories you’re trying to create, whether it be based on time, prioritized items, school subjects, or anything else. Other things you may want to add are: a way to cross out or check off items, a way to prioritize certain items, different categories split up, and scheduling things into time slots. Only after you’ve thought this through should you copy the design or format down in the notebook, making sure you’ve used the sections you considered.
Step 4: Compile a list of all your work. Recall and write down all of the work you have, whether it be school work, extracurricular activities, or any other things you need or even just want to complete. Make sure to include the estimated time needed to complete these, as well as their deadlines. When those have been arranged, put all of this information inside your agenda.
Step 5: If you wish, you can decorate it. Giving the journal extra color or embellishments will give it a personal touch and turn the boring old agenda into something nice to look at.
Step 6: Remember to keep your planner around and actually use it! Keep it in a place where you look often, and if you move around, make sure to keep it handy whenever you can. Also, if you often forget to put things in it, setting reminders on your phone can be an efficient way to tell yourself that you’ll need to put it down.
Although it’s not easy, keeping your planner will be beneficial for you in the long run. Hopefully, using this will help you stay efficient and productive with your workload and schedule while at home.

Hi! My name is Uswa Saeed. I'm currently a 12th grader at Centennial High School, and this is my third year writing for Cen10 News. Writing has always...